Multi-Device Management
Multi-Device support is an innovative solution that allows you to add all of your LoRa APRS devices - and beyond - into a single app. Whether it’s a tracker in your car, a home station, a portable handheld, or a digipeater, you can manage them all from one place.
The key advantage is automatic background switching. Depending on available connections, the app will automatically switch between your configured devices in the background. It doesn’t matter if one device uses Bluetooth Classic and another connects over TCP/IP - the transition is seamless and requires no manual intervention.
How It Works
The app iterates through your device list sequentially. When a connection attempt to a device fails, it moves on to the next one in the list. If the app gets disconnected from a currently active device, it will first attempt to reconnect to that same device before moving on to try the next one. All retry delays and timing parameters are determined dynamically based on the connection type and current conditions - there is no manual configuration needed.
Adding a Device
To add a new device, navigate to Settings → Manage Devices. You will be presented with the device management screen.
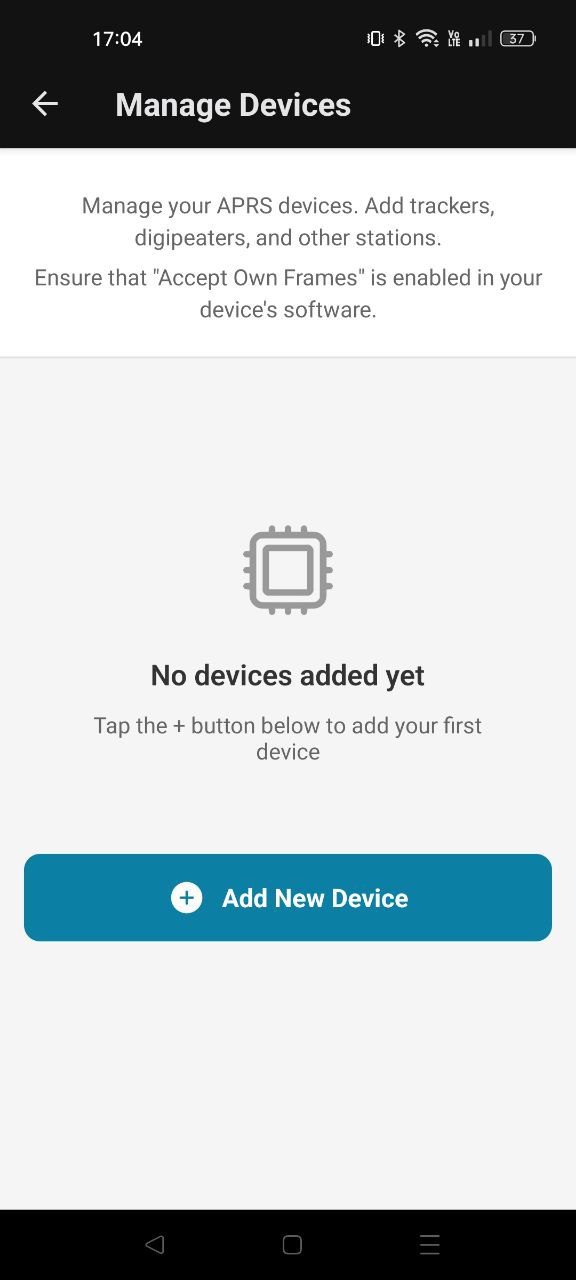
Tap the Add New Device button to add a new device and configure its connection type and details.
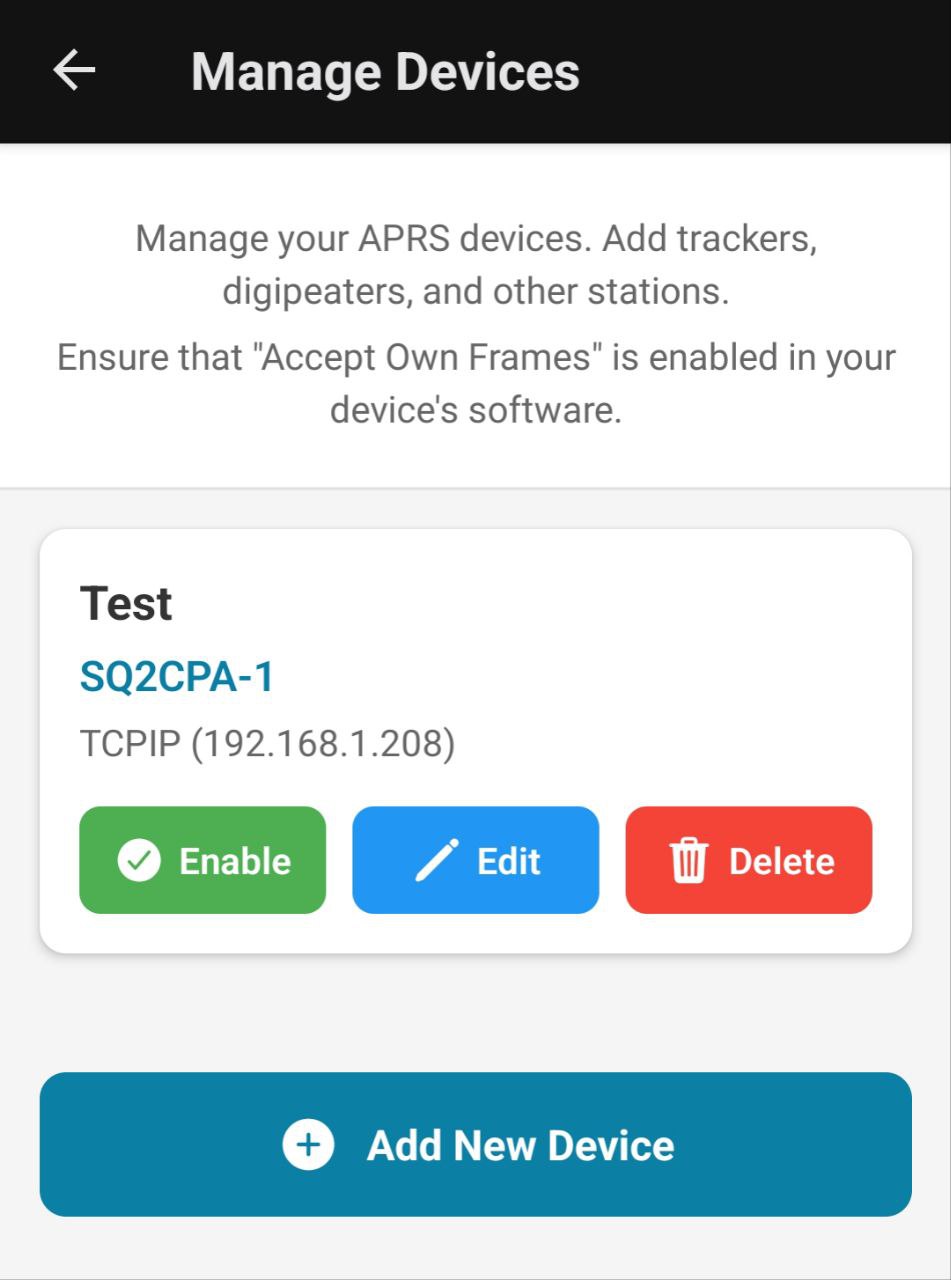
Note: Every newly added device is Disabled by default. After adding a device, you must enable it before the app will attempt to connect to it.
Each device in the list can be individually enabled or disabled at any time. This allows you to keep devices configured but temporarily exclude them from the automatic connection cycle - for example, when you know a particular device is powered off or out of range.
Device Details
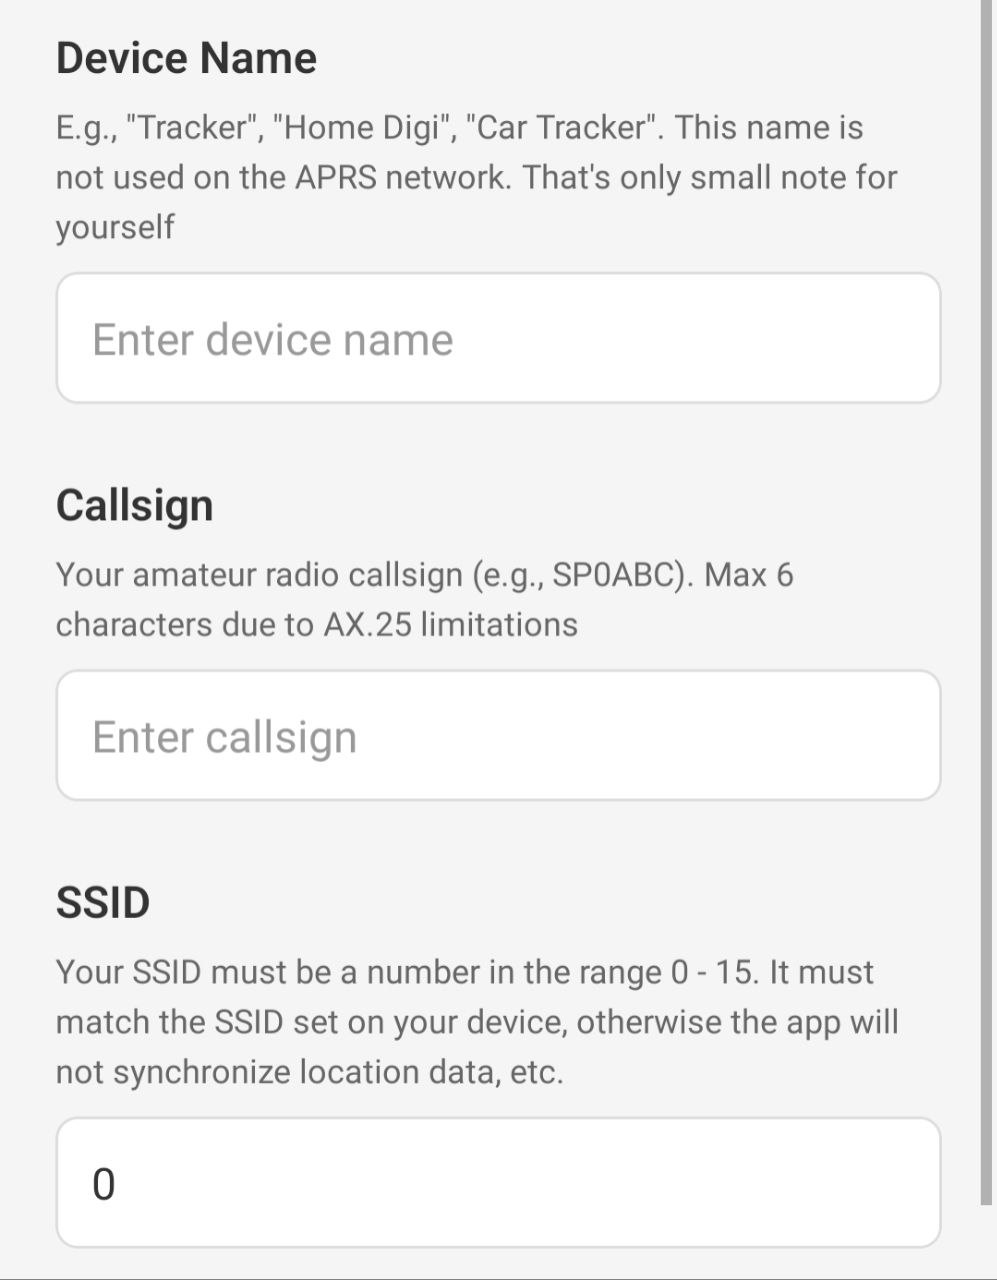
Each device requires the following configuration:
- Device Name: An internal label to help you identify this device. It can be anything - for example, your callsign with SSID like
SP0ABC-7, or a descriptive name like “Car Tracker” or “Home Digi”. Since you can have multiple devices with the same callsign and SSID, the Device Name is used to distinguish between them (not the callsign/SSID pair). - Callsign: Your amateur radio callsign, maximum 6 characters due to the AX.25 protocol limitation.
- SSID: A secondary station identifier, value from 0 to 15.
Important: The Callsign and SSID configured here must match the callsign and SSID set on the physical device you are connecting to. The app synchronizes with the tracker, and it will not work correctly if these values do not match. There is no benefit to using different SSIDs for messages and position beacons - keep them the same as your device.
Connection Types
The app supports three connection methods. Choose the one that matches your device’s capabilities.
Make sure to enable “Accept own frames” in your LoRa APRS device settings, if such option is available.
Bluetooth Classic
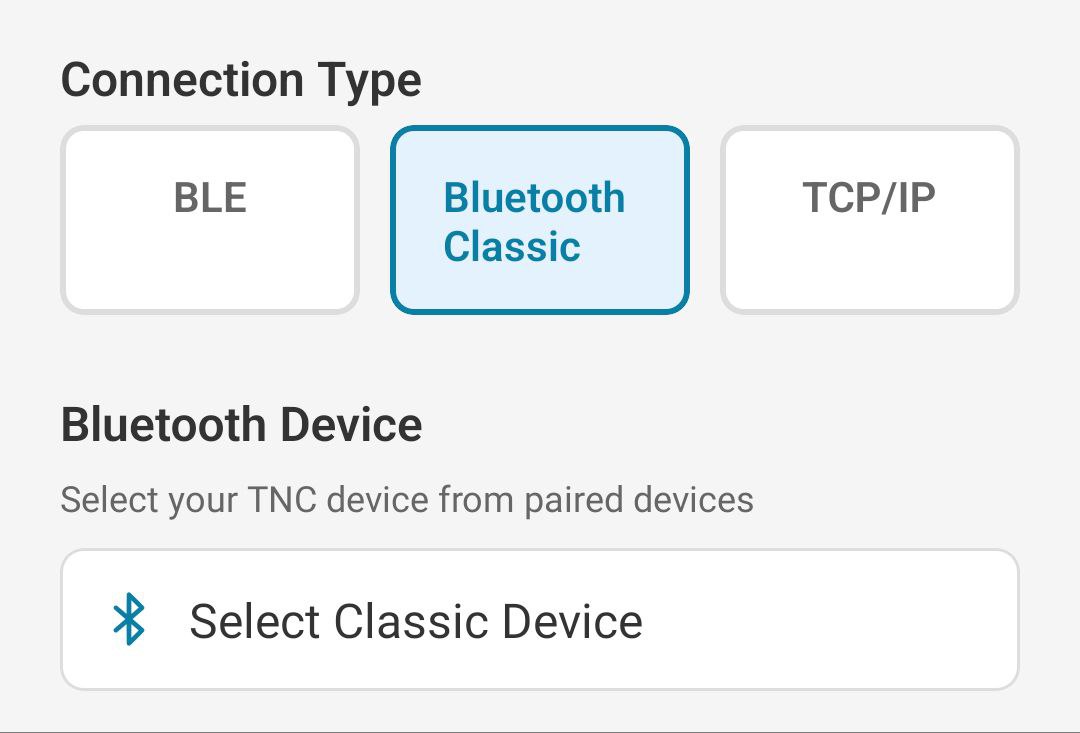
Bluetooth Classic is the traditional Bluetooth connection method, commonly used by LoRa APRS trackers.
Note: Bluetooth Classic requires you to pair the device with your phone first via Android’s Bluetooth settings before it will appear in the app.
BLE (Bluetooth Low Energy)
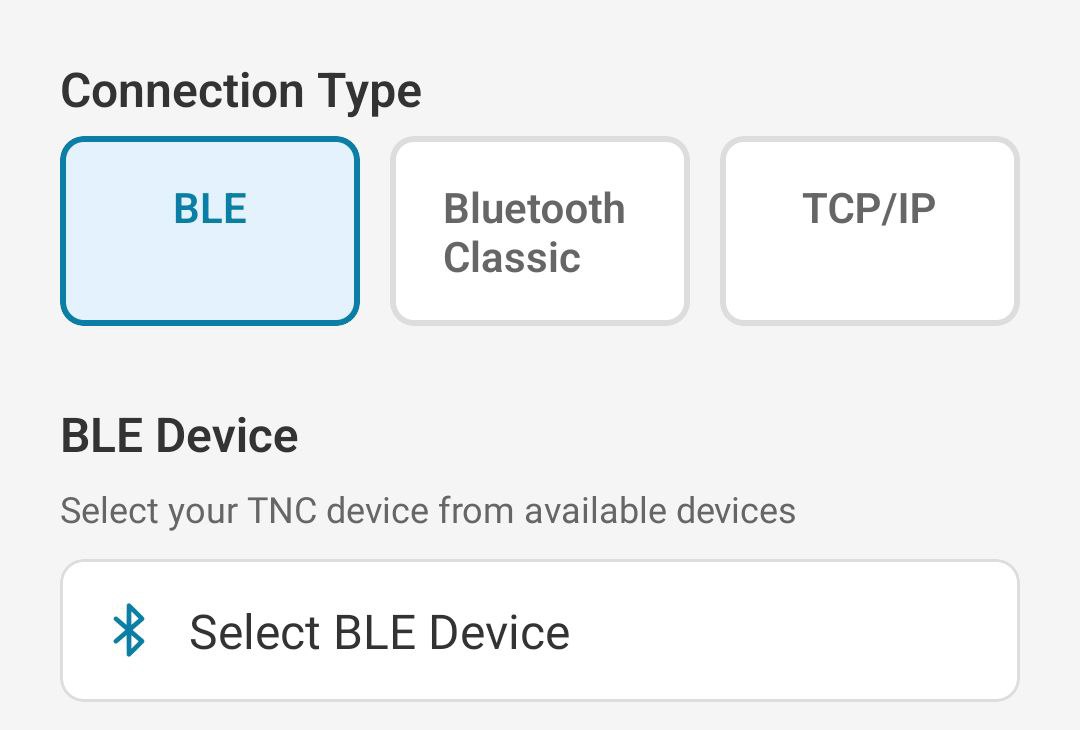
BLE is a modern, low-power Bluetooth connection method.
Unlike Bluetooth Classic, BLE does not require prior pairing - the app will discover and connect to the device directly.
TCP/IP
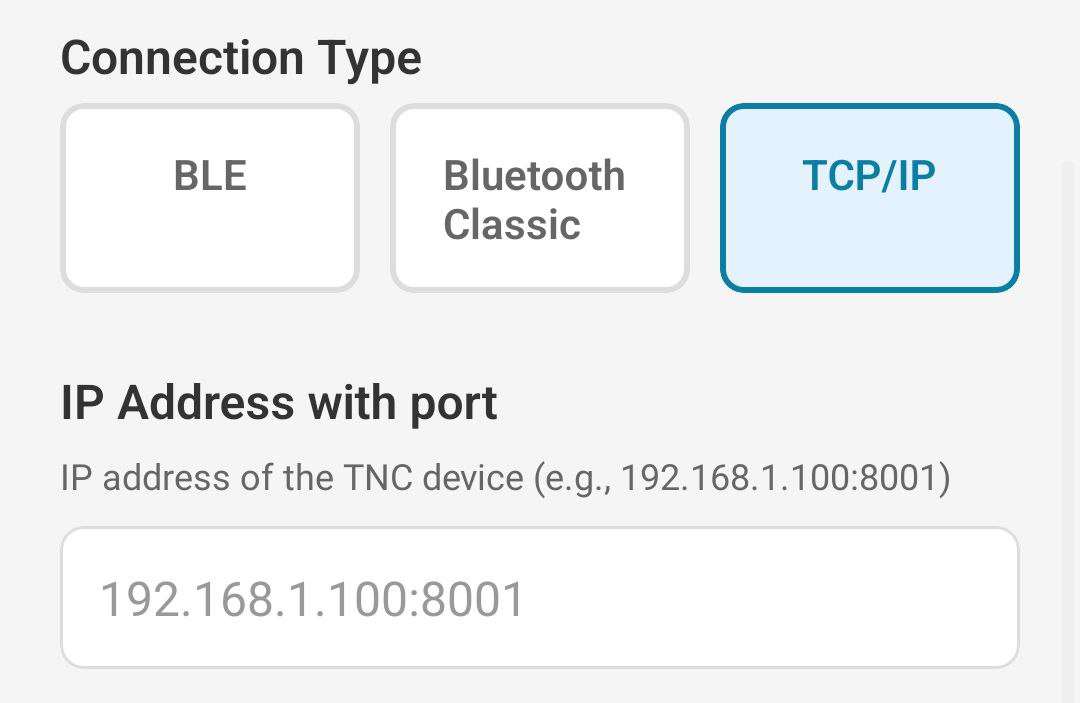
TCP/IP allows you to connect to devices over your local network or the internet. This is ideal for home stations, digipeaters, or iGates that are connected to your network.
- Host: The IP address or hostname of your device.
- Port: The port number to connect to. The default port is 8001.