Display
Almost every tracker is equipped with a display that provides real-time information about the device’s status, GPS data, battery level, and network activity. The display automatically updates and can be configured to turn off after a specified period of inactivity to save power.
Supported Display Types
The tracker supports two types of displays, depending on the hardware:
- OLED Displays (Monochrome)
- SSD1306 - 0.96” OLED display (default)
- SH1106 - 1.3” OLED display
- TFT Display (Color)
- Used in devices like the Heltec Wireless Tracker
- 160x80 pixels with color support
The display type is automatically detected during initialization. For OLED displays, you must manually configure which driver to use in the settings.
⚠️ Warning: If you select the wrong display driver (e.g., SSD1306 when you physically have an SH1106), you may experience display artifacts such as shifted content, white lines, or other visual glitches. Make sure to select the correct driver that matches your hardware.
Display Layout
ℹ️ Note: Starting from firmware version 1.0.5, the
Persistent Screensetting has been removed and replaced with a new screen switching system.
The display has two main modes of operation:
- Screens - Multiple information screens that you can cycle through by pressing the USER button once
- Temporary Messages - Brief messages that appear during specific events and then disappear
Every screen has a header bar at the top that shows:
- Battery percentage (left side)
- Current screen name (center)
- Time in UTC from GPS (right side)
ℹ️ Note: The order of screens may vary and can be dynamic depending on device state and configuration.
If you are not sure which button is the USER button on your device, see the Button Functions page.
MAIN
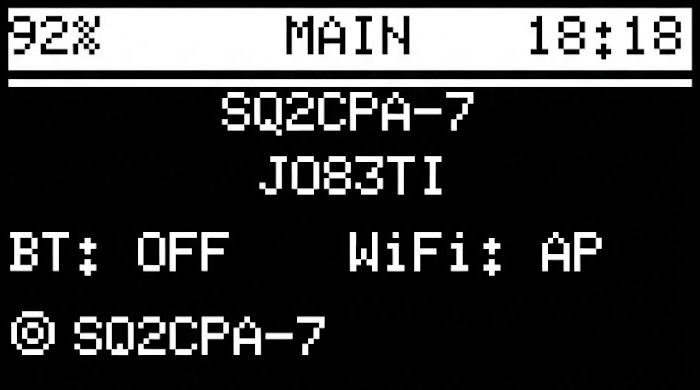
The main screen displays:
- Your callsign
- Maidenhead locator from GPS
- Bluetooth and WiFi status (ON/OFF) - can be toggled in the Menu
- Callsign from the last received frame
RECEIVED
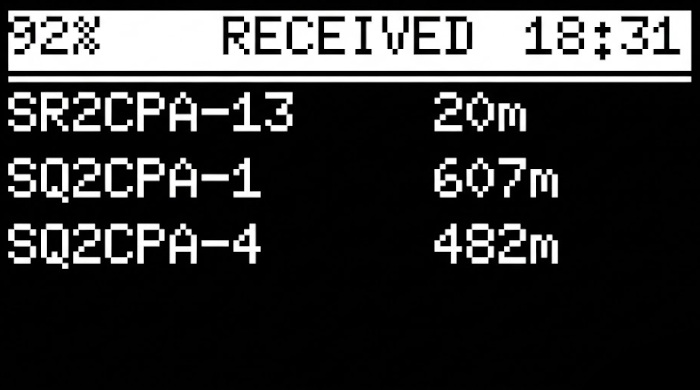
A list of received frames (not only beacons - can include messages, etc.) along with the distance from your position.
⚠️ Important: The number displayed next to each callsign represents the DISTANCE (in km or meters) - not time in minutes!
If distance is missing, it may be because the received frame (e.g., a message) does not contain position data. If you are certain that you received a beacon (position packet) and the distance is still missing, please contact us - this may indicate a bug that we would like to investigate.
POSITION
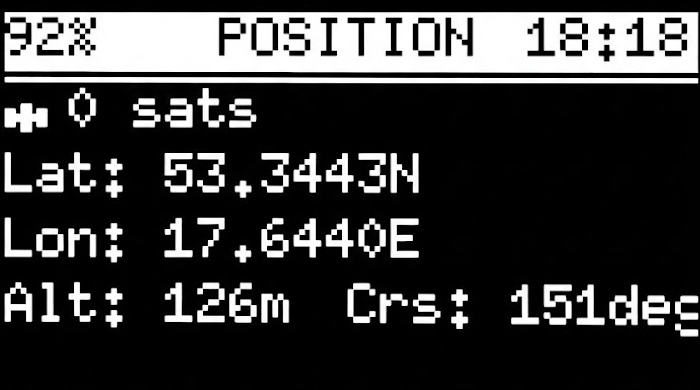
GPS data including:
- Number of satellites
- Latitude
- Longitude
- Altitude
- Course
INFO
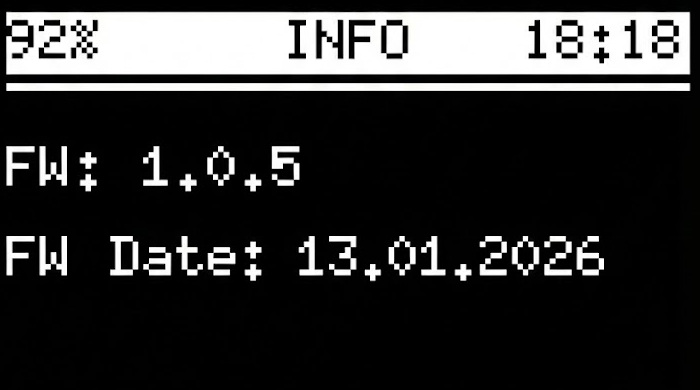
Firmware information:
- Firmware version
- Firmware build date
NETWORK
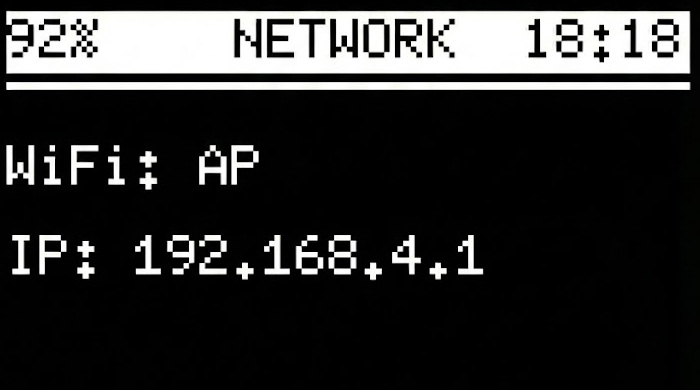
WiFi network information:
- Network type (Client or AP)
- IP address
LAST RX
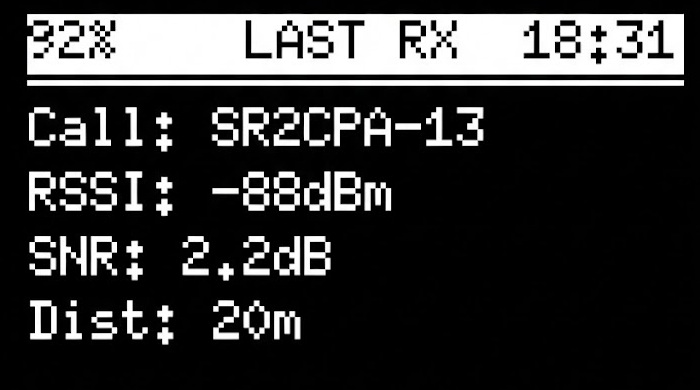
Information about the last received frame (not station, so distance may be missing if it was a message, etc.):
- Callsign with SSID
- RSSI (signal strength)
- SNR (signal-to-noise ratio)
- Distance (if available)
⚠️ Important: The distance value represents the DISTANCE (in km or meters) - not time in minutes!
If distance is missing, it may be because the received frame (e.g., a message) does not contain position data. If you are certain that you received a beacon (position packet) and the distance is still missing, please contact us - this may indicate a bug that we would like to investigate.
POWER
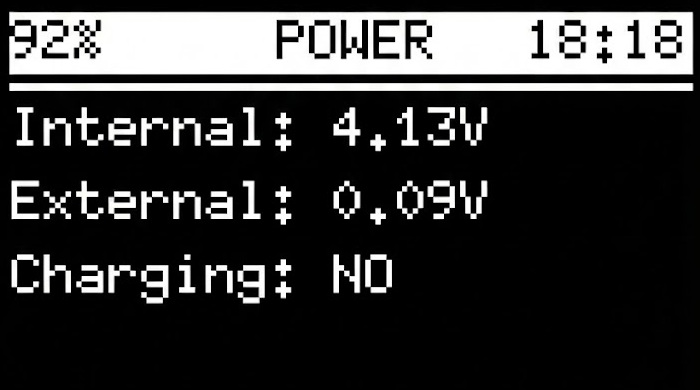
Power information for your device:
- Internal (battery) voltage
- External voltage
- Charging status
ℹ️ Note: On devices with PMU (e.g., T-Beam), the external voltage shows the USB input voltage.
Temporary Messages
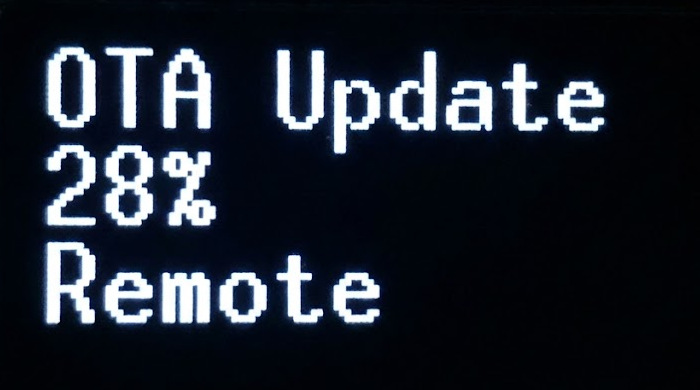
Example of a temporary message showing OTA update progress.
During operation, the display will briefly show temporary messages for various events. These messages appear for a short time and then the screen returns to the current view.
These temporary messages do not introduce any additional delay to the firmware’s operation. Some messages may appear very briefly - sometimes just a flash - and this is intentional. The display must never slow down packet processing. Diagnostic and important messages are displayed longer to ensure you have time to notice them, while routine informational messages are shown only as long as the operation naturally takes.
Informational Messages
These messages inform you about normal operational events:
Status TX- Displayed after 10 seconds from boot when the tracker sends its status packet.
Beacon TX- Displayed when your tracker beacon is being transmitted over RF.
BLE TX- A frame received from a TNC BLE device is being transmitted over RF.
BT TX- A frame received from a TNC Bluetooth Classic device is being transmitted over RF.
Digi TX- Displayed when the tracker is digipeating (repeating) a received packet.
WiFi already active/WiFi AP turned on- Displayed when toggling WiFi from the menu.
Bluetooth not available/Bluetooth disabled/Bluetooth enabled- Displayed when toggling Bluetooth from the menu.
Turned off- Displayed when the tracker is being turned off from the menu.
TX Initial Telemetry 1/3…TX Initial Telemetry 3/3- Displayed when the tracker is sending its initial telemetry configuration packets after boot.
OTA Update Local- Displayed during a local firmware update (uploading a
.binfile via the web interface).
- Displayed during a local firmware update (uploading a
OTA Update --% Remote- Shown during a remote firmware update, including the download progress percentage.
Configuration Saved- Shown when configuration changes have been saved.
Rebooting- Displayed just before the device restarts.
Diagnostic Messages
These messages indicate problems that may require your attention:
Low battery sleeping!+ voltage- Displayed when low voltage protection is enabled and the battery voltage has dropped below the threshold.
- The current voltage is shown alongside this message.
- The device will enter deep sleep to protect the battery.
LoRa init failed! (1 not found- The LoRa radio module was not detected.
- Check your hardware connections and ensure the LoRa module is properly seated.
LoRa init failed! (1 invalid freq- The configured frequency is invalid or outside the supported range.
- Review your LoRa frequency settings in the configuration.
LoRa init failed! (2 invalid power- The configured transmission power is invalid.
- Review your LoRa power settings in the configuration.
GPS failed no data!- Displayed when the GPS is not sending data. This can happen due to incorrect baud rate settings, bad connection, or hardware failure.
- On T-Beam devices, an additional
resetingmessage may appear indicating an automatic repair attempt.
GPS failed please reboot- The automatic GPS repair attempt has completed. A reboot is recommended.
BT classic init failed!- Bluetooth Classic initialization failed.
- Check your Bluetooth configuration.
AXP192 failed- PMU (Power Management Unit) initialization failed.
- You may have flashed the wrong firmware version for your T-Beam (e.g., using AXP192 firmware on AXP2101 hardware).
AXP2101 failed- PMU (Power Management Unit) initialization failed.
- You may have flashed the wrong firmware version for your T-Beam (e.g., using AXP2101 firmware on AXP192 hardware).
Setup Screen
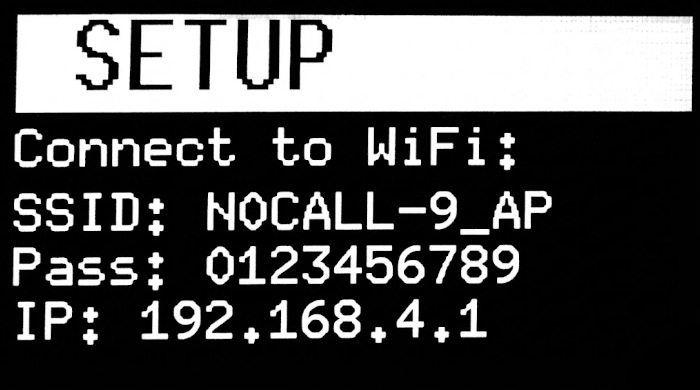
After flashing the firmware for the first time (clean install), the tracker displays a setup screen with the following information:
- WiFi SSID - The name of the WiFi network created by the tracker
- Password - The password to connect to this network
- IP Address - The address where you can access the configuration interface
Connect to the displayed WiFi network and open the IP address in your browser to configure your tracker.
Startup Animation
When the tracker boots up for the first time (not during a fast restart - like after settings save), it displays a welcome animation:
First Screen:
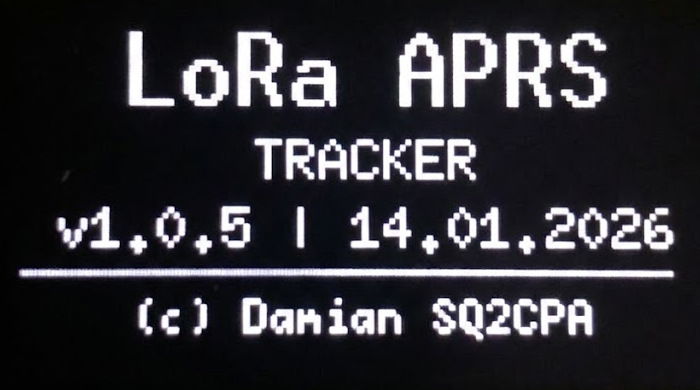
- Shows
LoRa APRSas the title - Displays
SQ2CPA(author’s callsign) - Shows the firmware version and build date
Second Screen:
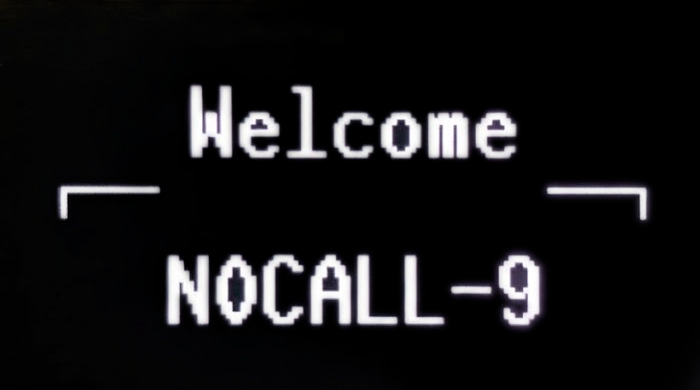
- Shows
Welcomemessage - Animates your callsign character by character
After the animation, the display switches to the main information screen.
Display Timeout Feature
The tracker supports an automatic display timeout to conserve power, especially useful for battery-powered operation:
- Configuration: You can set a timeout period in seconds via the web interface
- Behavior: After the specified period of inactivity, the display will turn off
- Wake-up: Pressing the button will wake the display back up
This feature is particularly useful for devices using TFT displays, as the backlight consumes significant power.
Menu System
When you enter the menu (double-press the button), the display changes to show the menu interface:
- Header: Shows
MENUin large text - Menu items: Listed with a
>prefix for the currently selected option - Navigation indicators:
^andvsymbols show if there are more items above or below - Maximum visible items: Up to 4 menu items are shown at once (on most displays)
For detailed information about menu navigation, see the Menu page.
For information about button functions and interactions with the display, see the Button Functions page.